How to install Tesla Model 3 automatic frunk
Total time: about 1 hour
The installation's difficulty level is moderate. You might want to read through the following intensive guide first to have a better sense of flow and cautions.
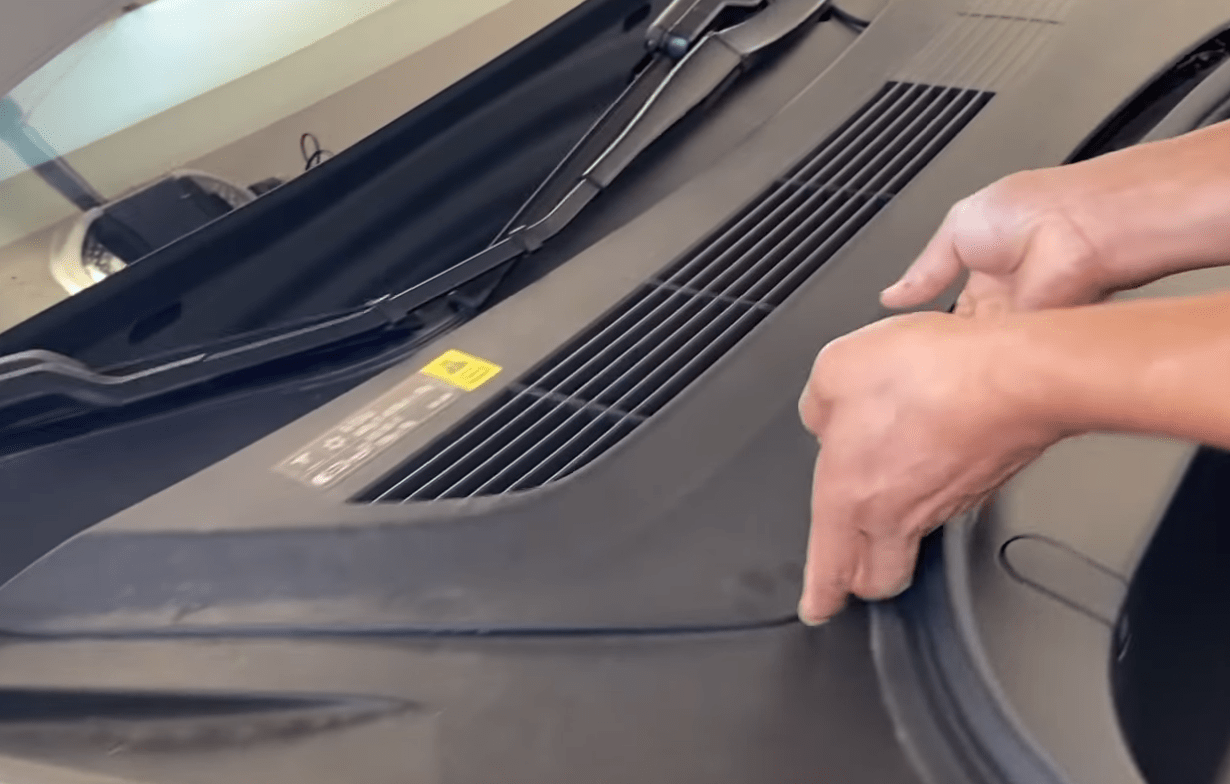
Step 1: Remove Frunk Shell
Take off the upper cover and funnel; Remove 7 bolts;
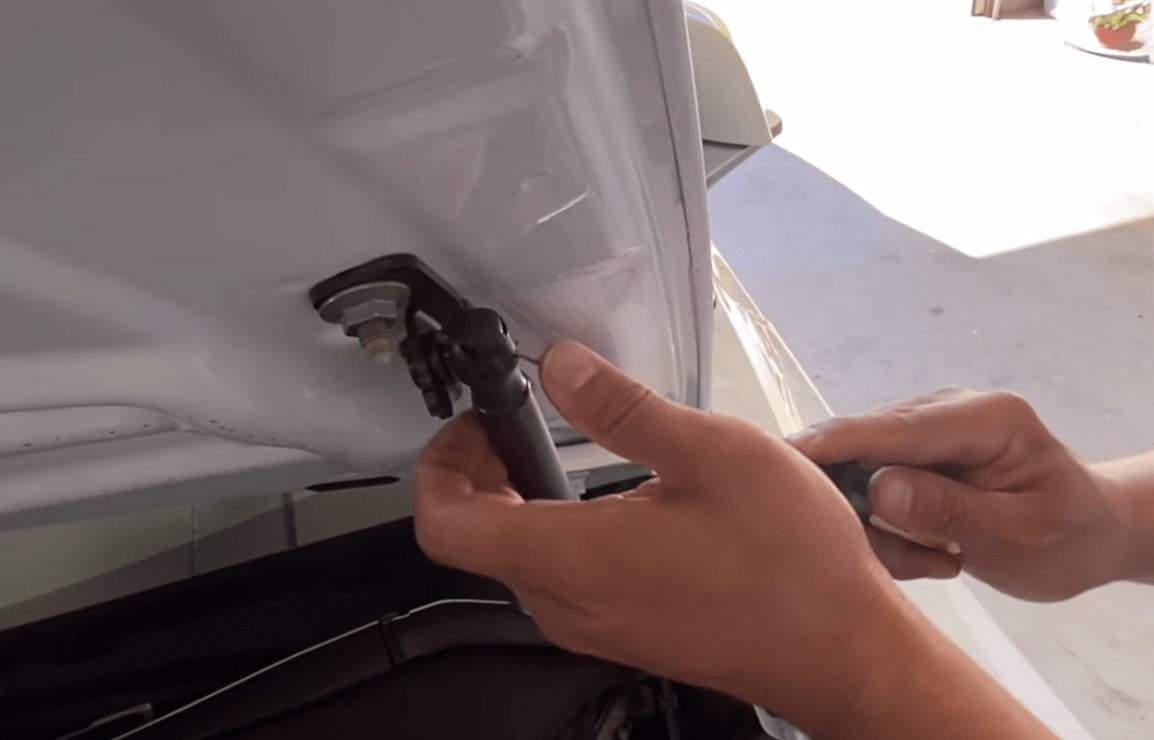
Step 2: Remove original struts and install new struts
Replace the struts
Step 3: Install motor
Put double sided tape on the motor
Step 4: Remove original spring and attach new latch
Replace the latch with new parts

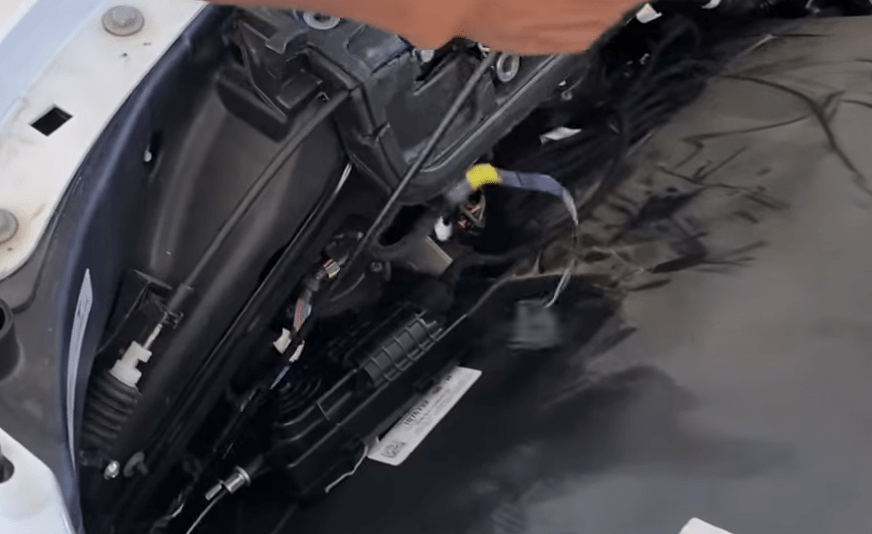
Step 5: Feed emergency cable through tow hook opening
The emergenc cable allows you manually open the frunk in case out of power.
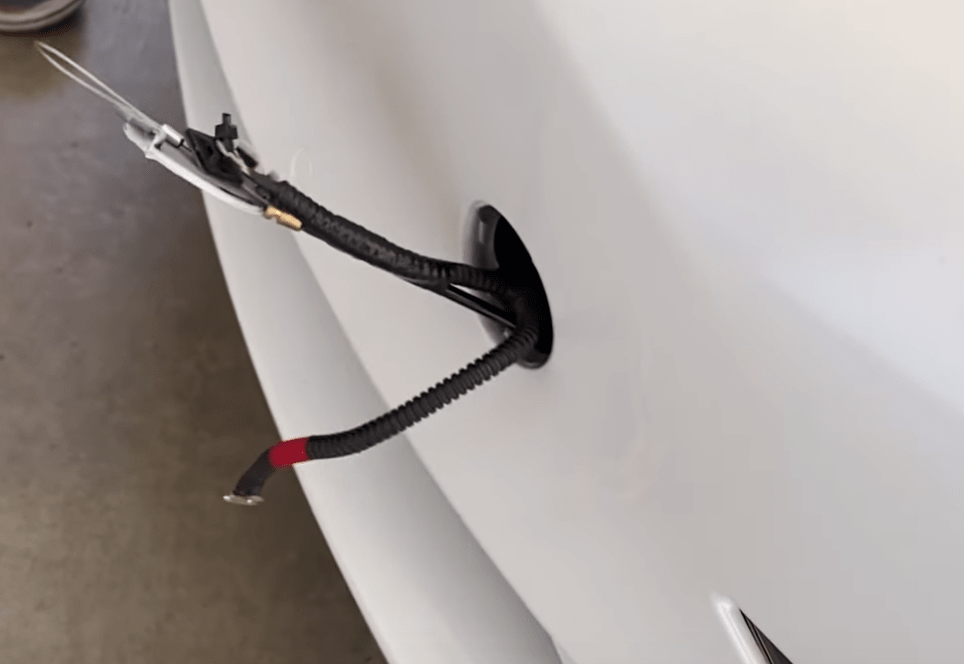
Step 6: Attach the cable
Wire up the cables.
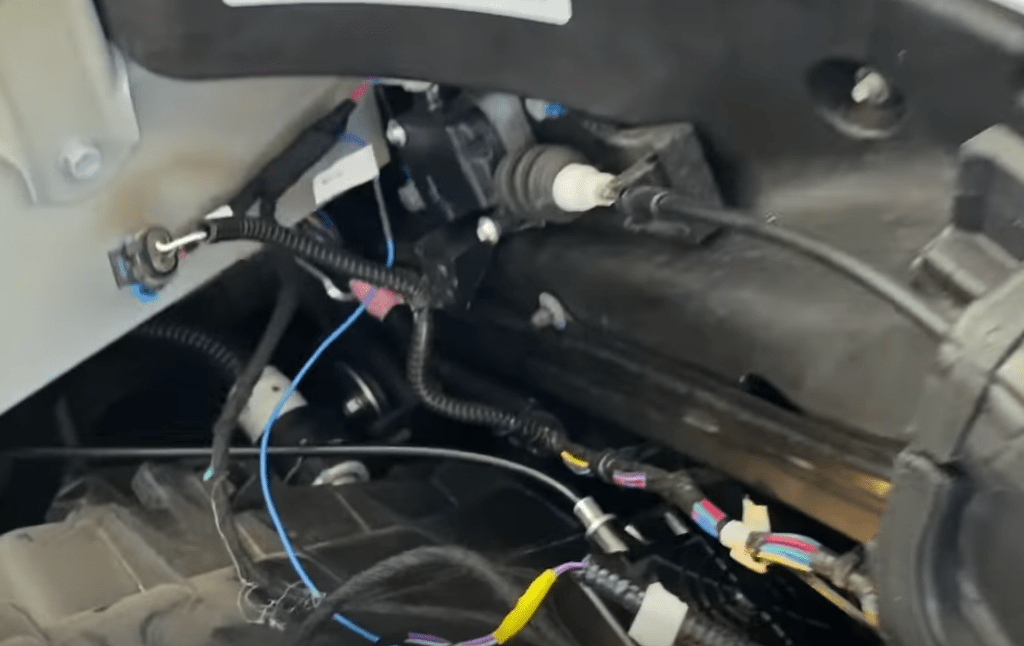
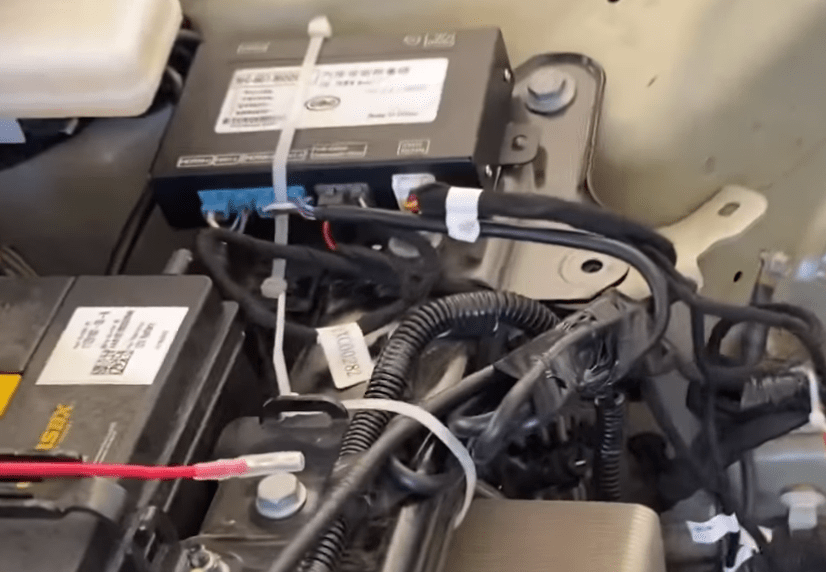
Step 7: Connect to 12v power and ground
Get power from the battery and connect to ground.
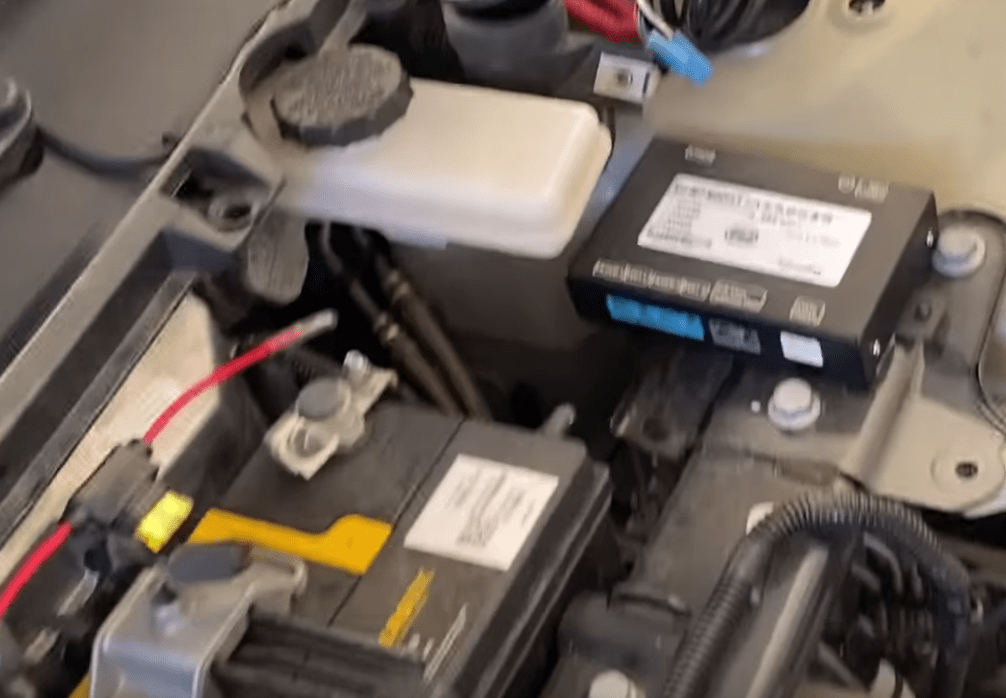
Step 8: Connect wire to control box
Wire management and connect to control box.
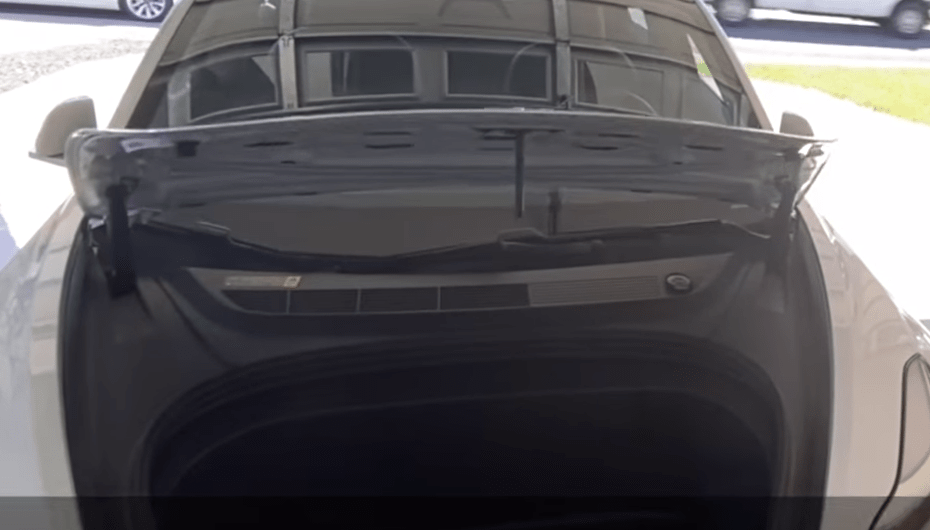
Step 9: Calibrate
Put the frunk shell back and tight all bolts up. Pull down the frunk lid to calibrate. You can adjust the mode as well.
Let's take a look at some videos: (More Tesla automatic frunk installation videos)
- The fantastic video from
Eric: - Better wiring video from
Frugal Tesla Guy