How to install Tesla Model 3 automatic trunk
Total time: about 4 hours
The installation's difficulty level is moderate. You might want to read through the following intensive guide first to have a better sense of flow and cautions.
Step 1: Pre-installation Check
Due to the large tolerance deviation of the car body to trunk lid assembly, we must check the gaps between the roof glass and the tailgate before installing the power lift kit. The deviation between the left and right sides must be less than or equal to 4.5mm, otherwise we can not install it and stop here.
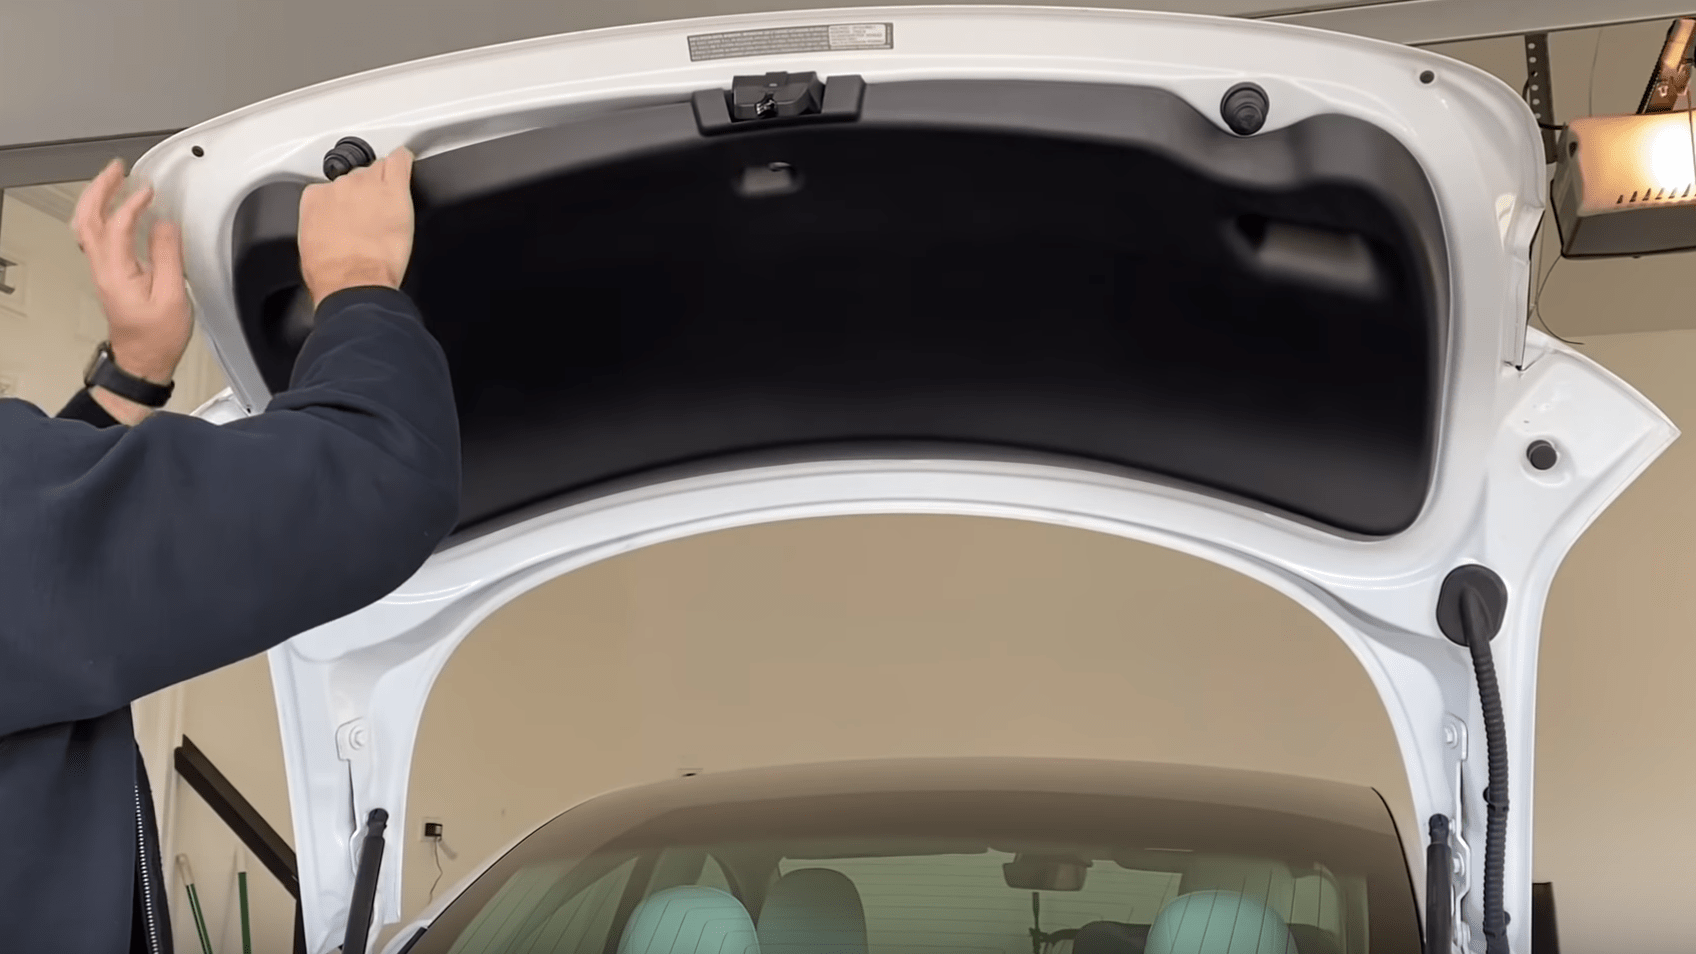
Step 2: Remove trunk lids interior panel
Use a panel open tools to remove the panel along the perimeter of the tailgate trim. Replace the left and right struts.
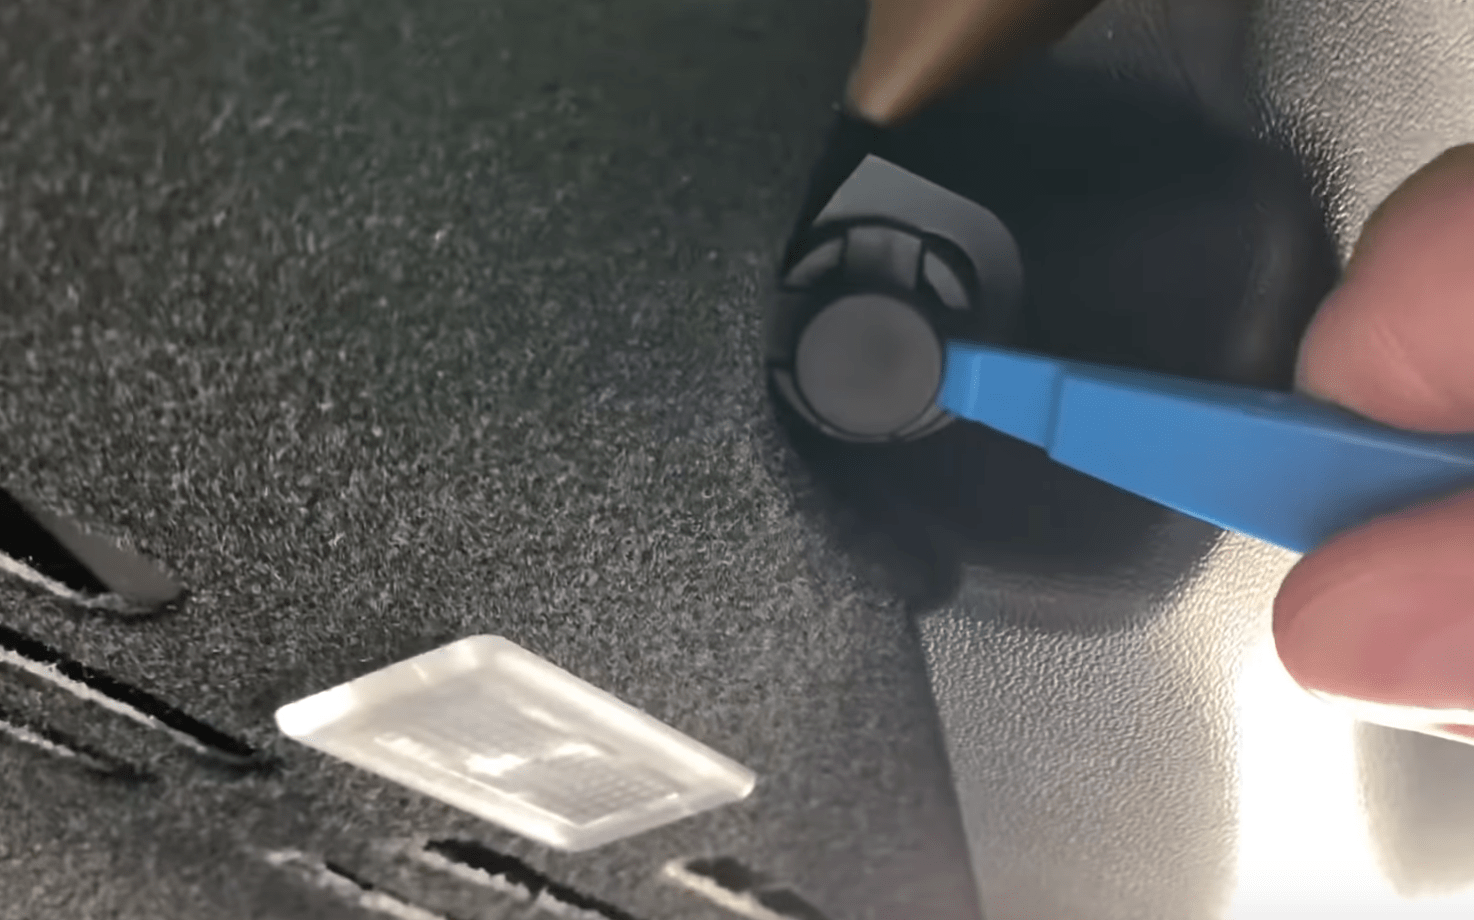
Step 3: Remove trunk interior panel
Use a panel open tools to remove the top, middle and back panels.
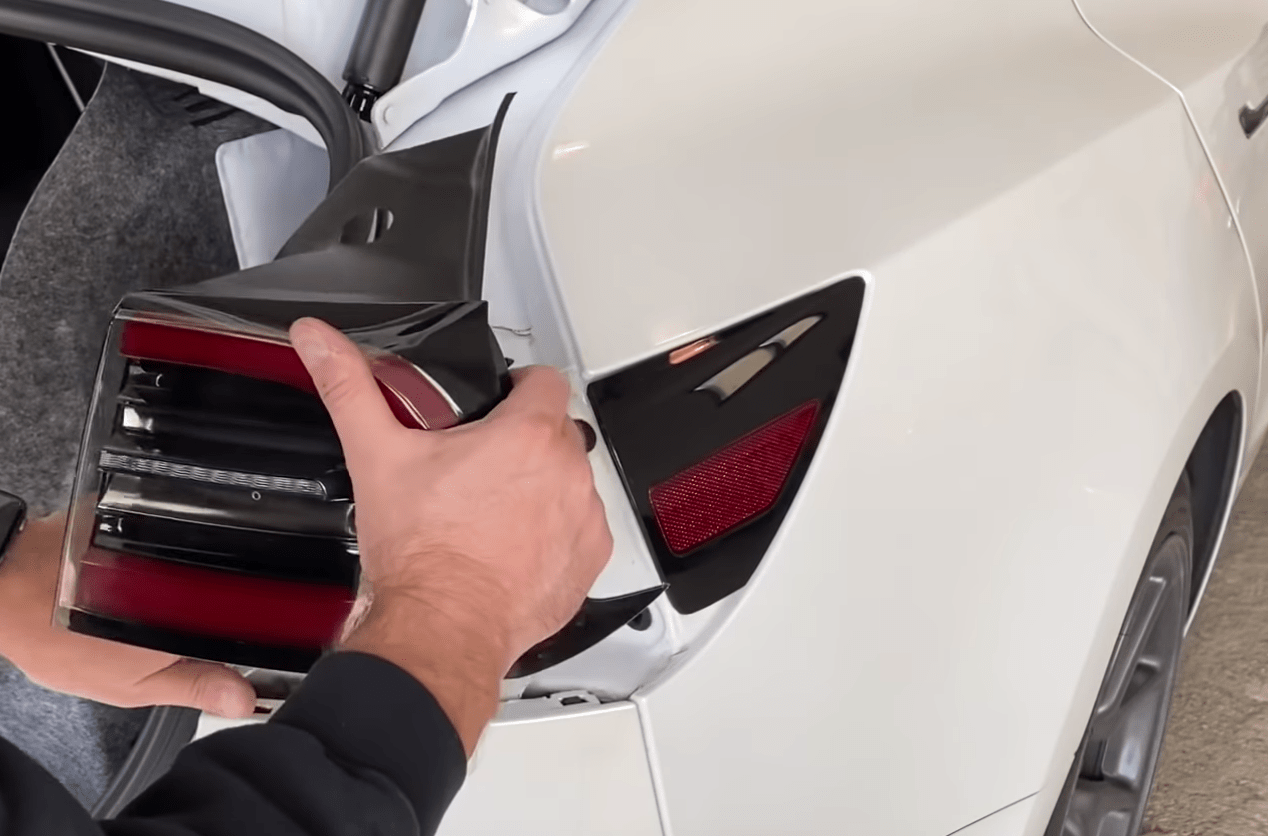
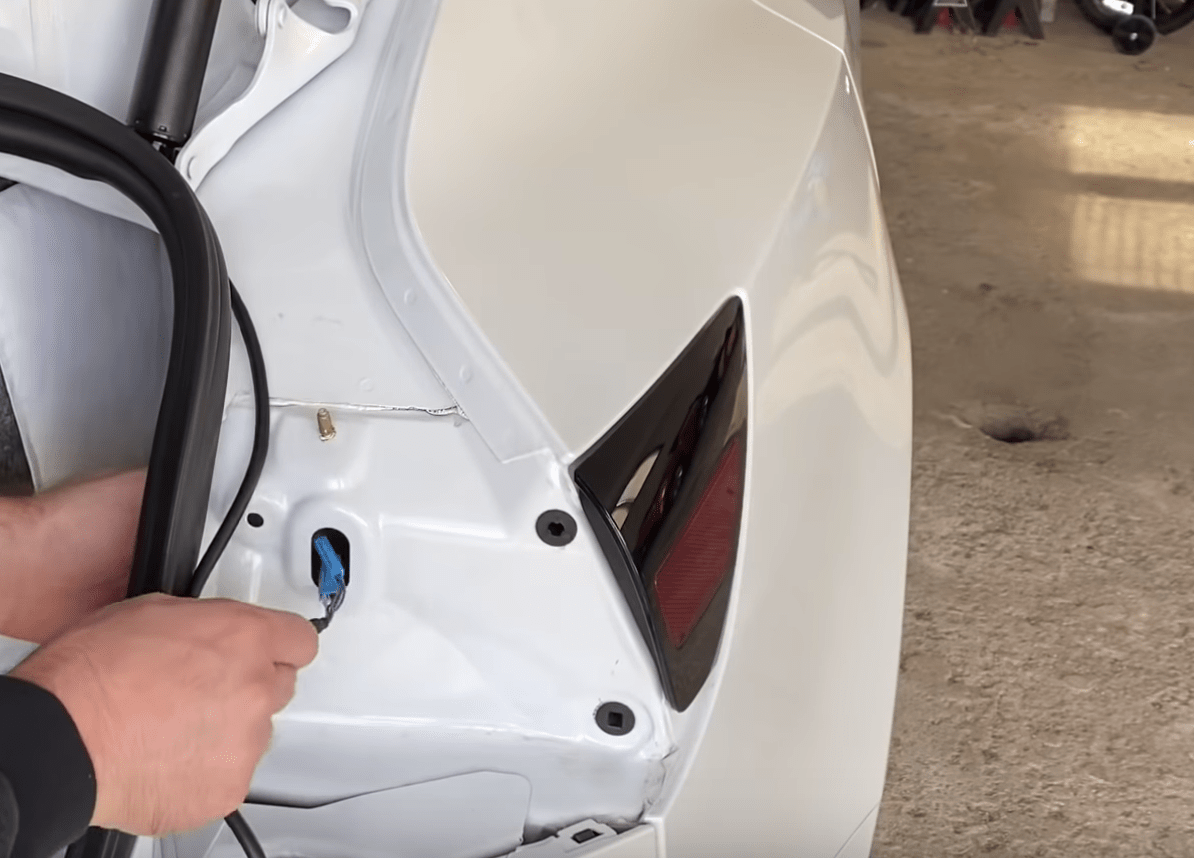
Step 4: Remove rear lights
First, take the rear light adapter off; Then, gruadually pull the light off; Next, wiring the power line through the light socket hole.
Step 5: Wiring for trunk lid
Cut the right wire wrap along the wiring; Wiring from rear right light to trunk lids
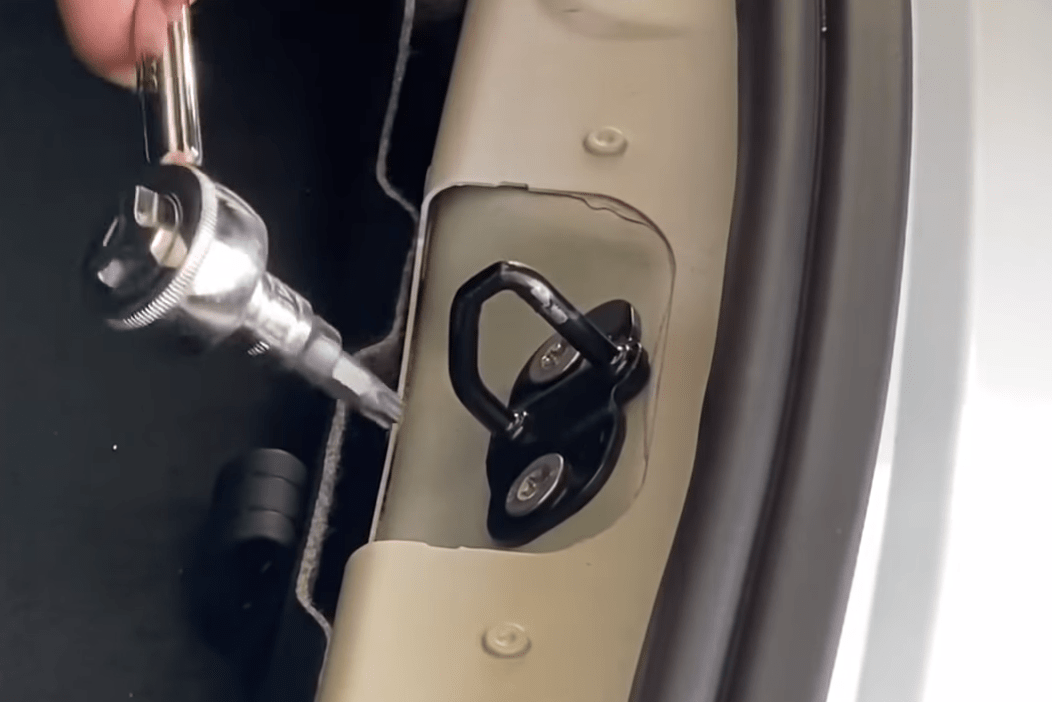
Step 6: Replace the trunk latch
Replace the trunk latch with the new parts.
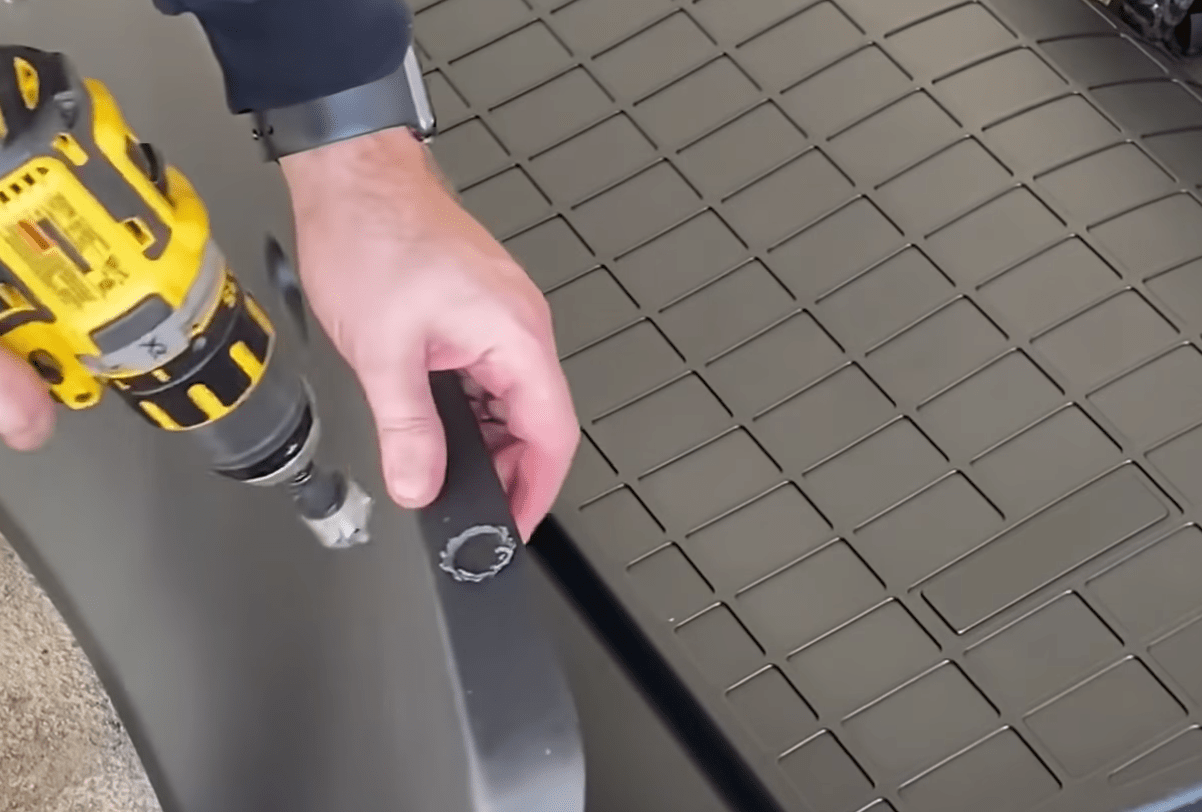
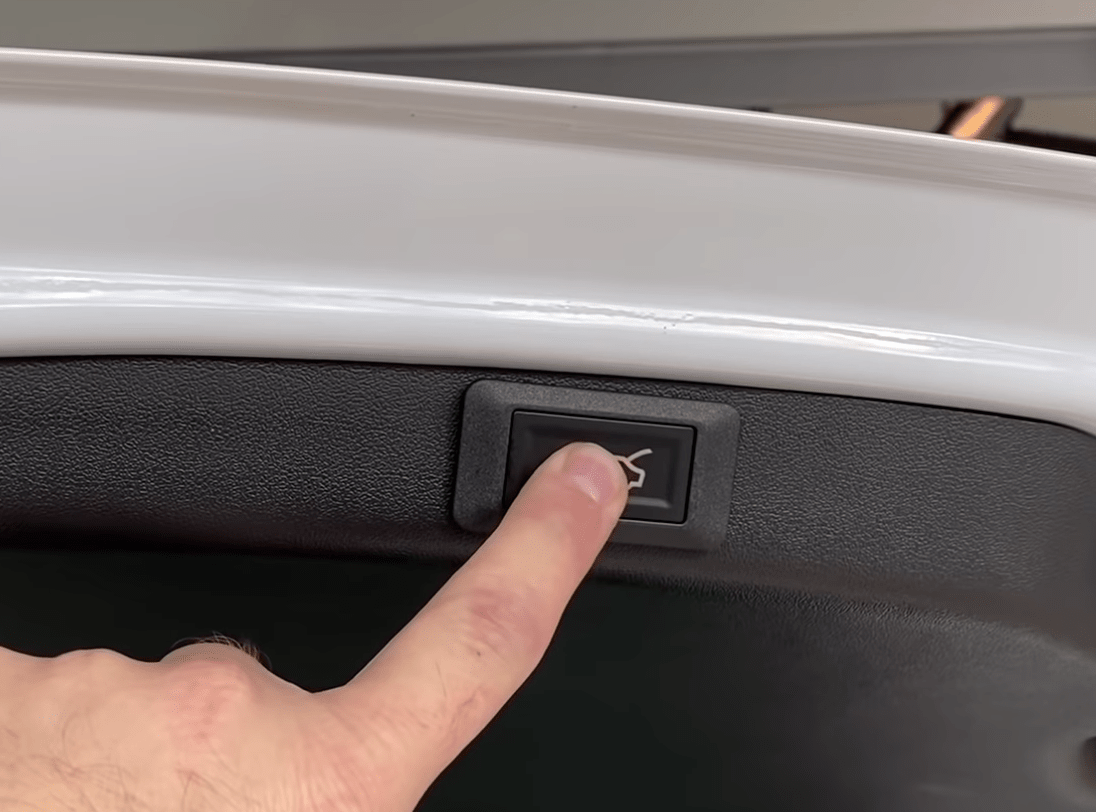
Step 7: Install the inner push button on trunk lid
First, drill a round hole on the trunk lid panel; Then, take the screw off the new button parts; Next, wiring and connect to control box.
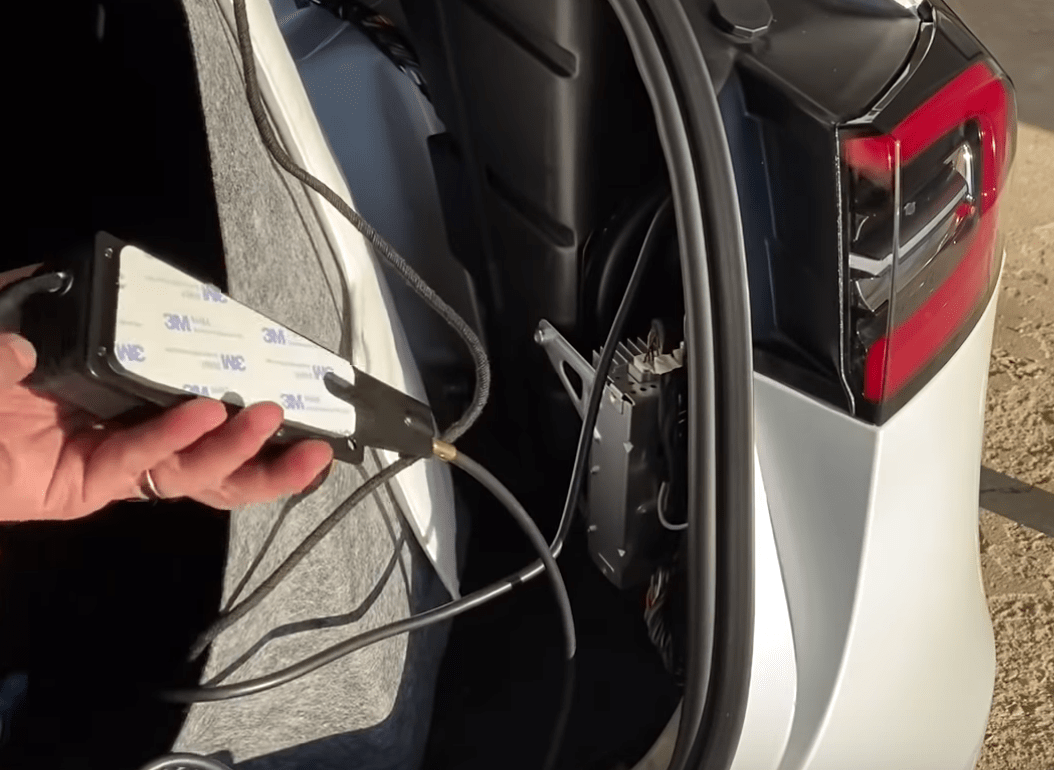
Step 8: Attach the motor to the right inner side of trunk
Use the double-side tape to attach the motor in the right corner of the trunk.
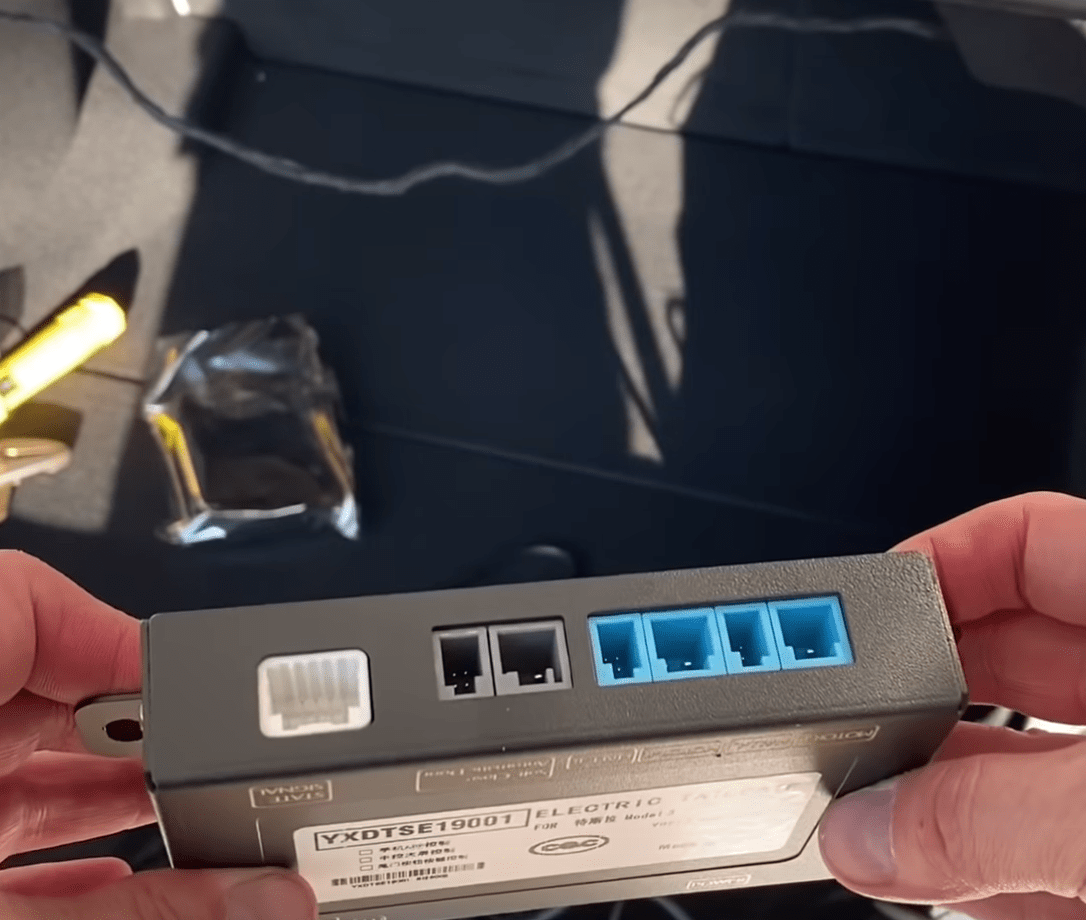
Step 9: Connect all wireing to the control box
Read the wiring diagram and connect all wire to the control box.
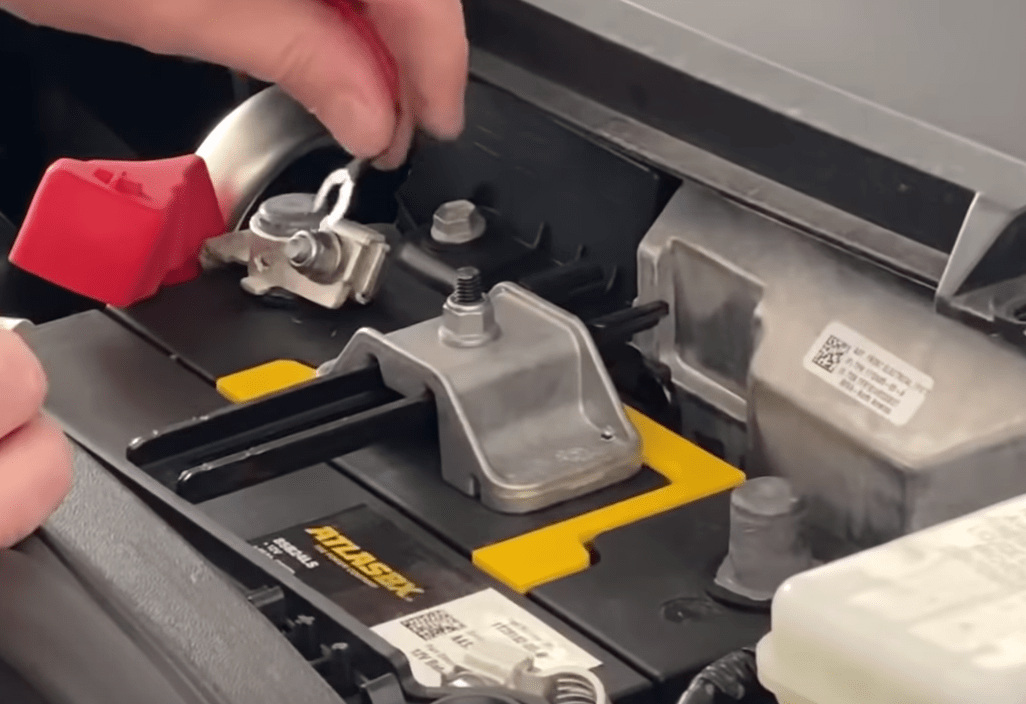
Step 10: Connect to the power
Wiring throught the right trim to the battery under the hood.
Step 11: Testing and programming for the height of the push button
Testing for the functionalities and 6 presetted model. Manually adjust the upper lid to proper height and push the button until a long beep sound heard.
Let's take a look at some videos: (More Tesla automatic trunk installation videos)
- the fantastic video from
Eric: - better wiring video from
hasshow